
Manual Installation#
Video Guide — description found below
Step 1: Install Miniforge#
Click here to download the installer.
Open the installer, once it has been downloaded.
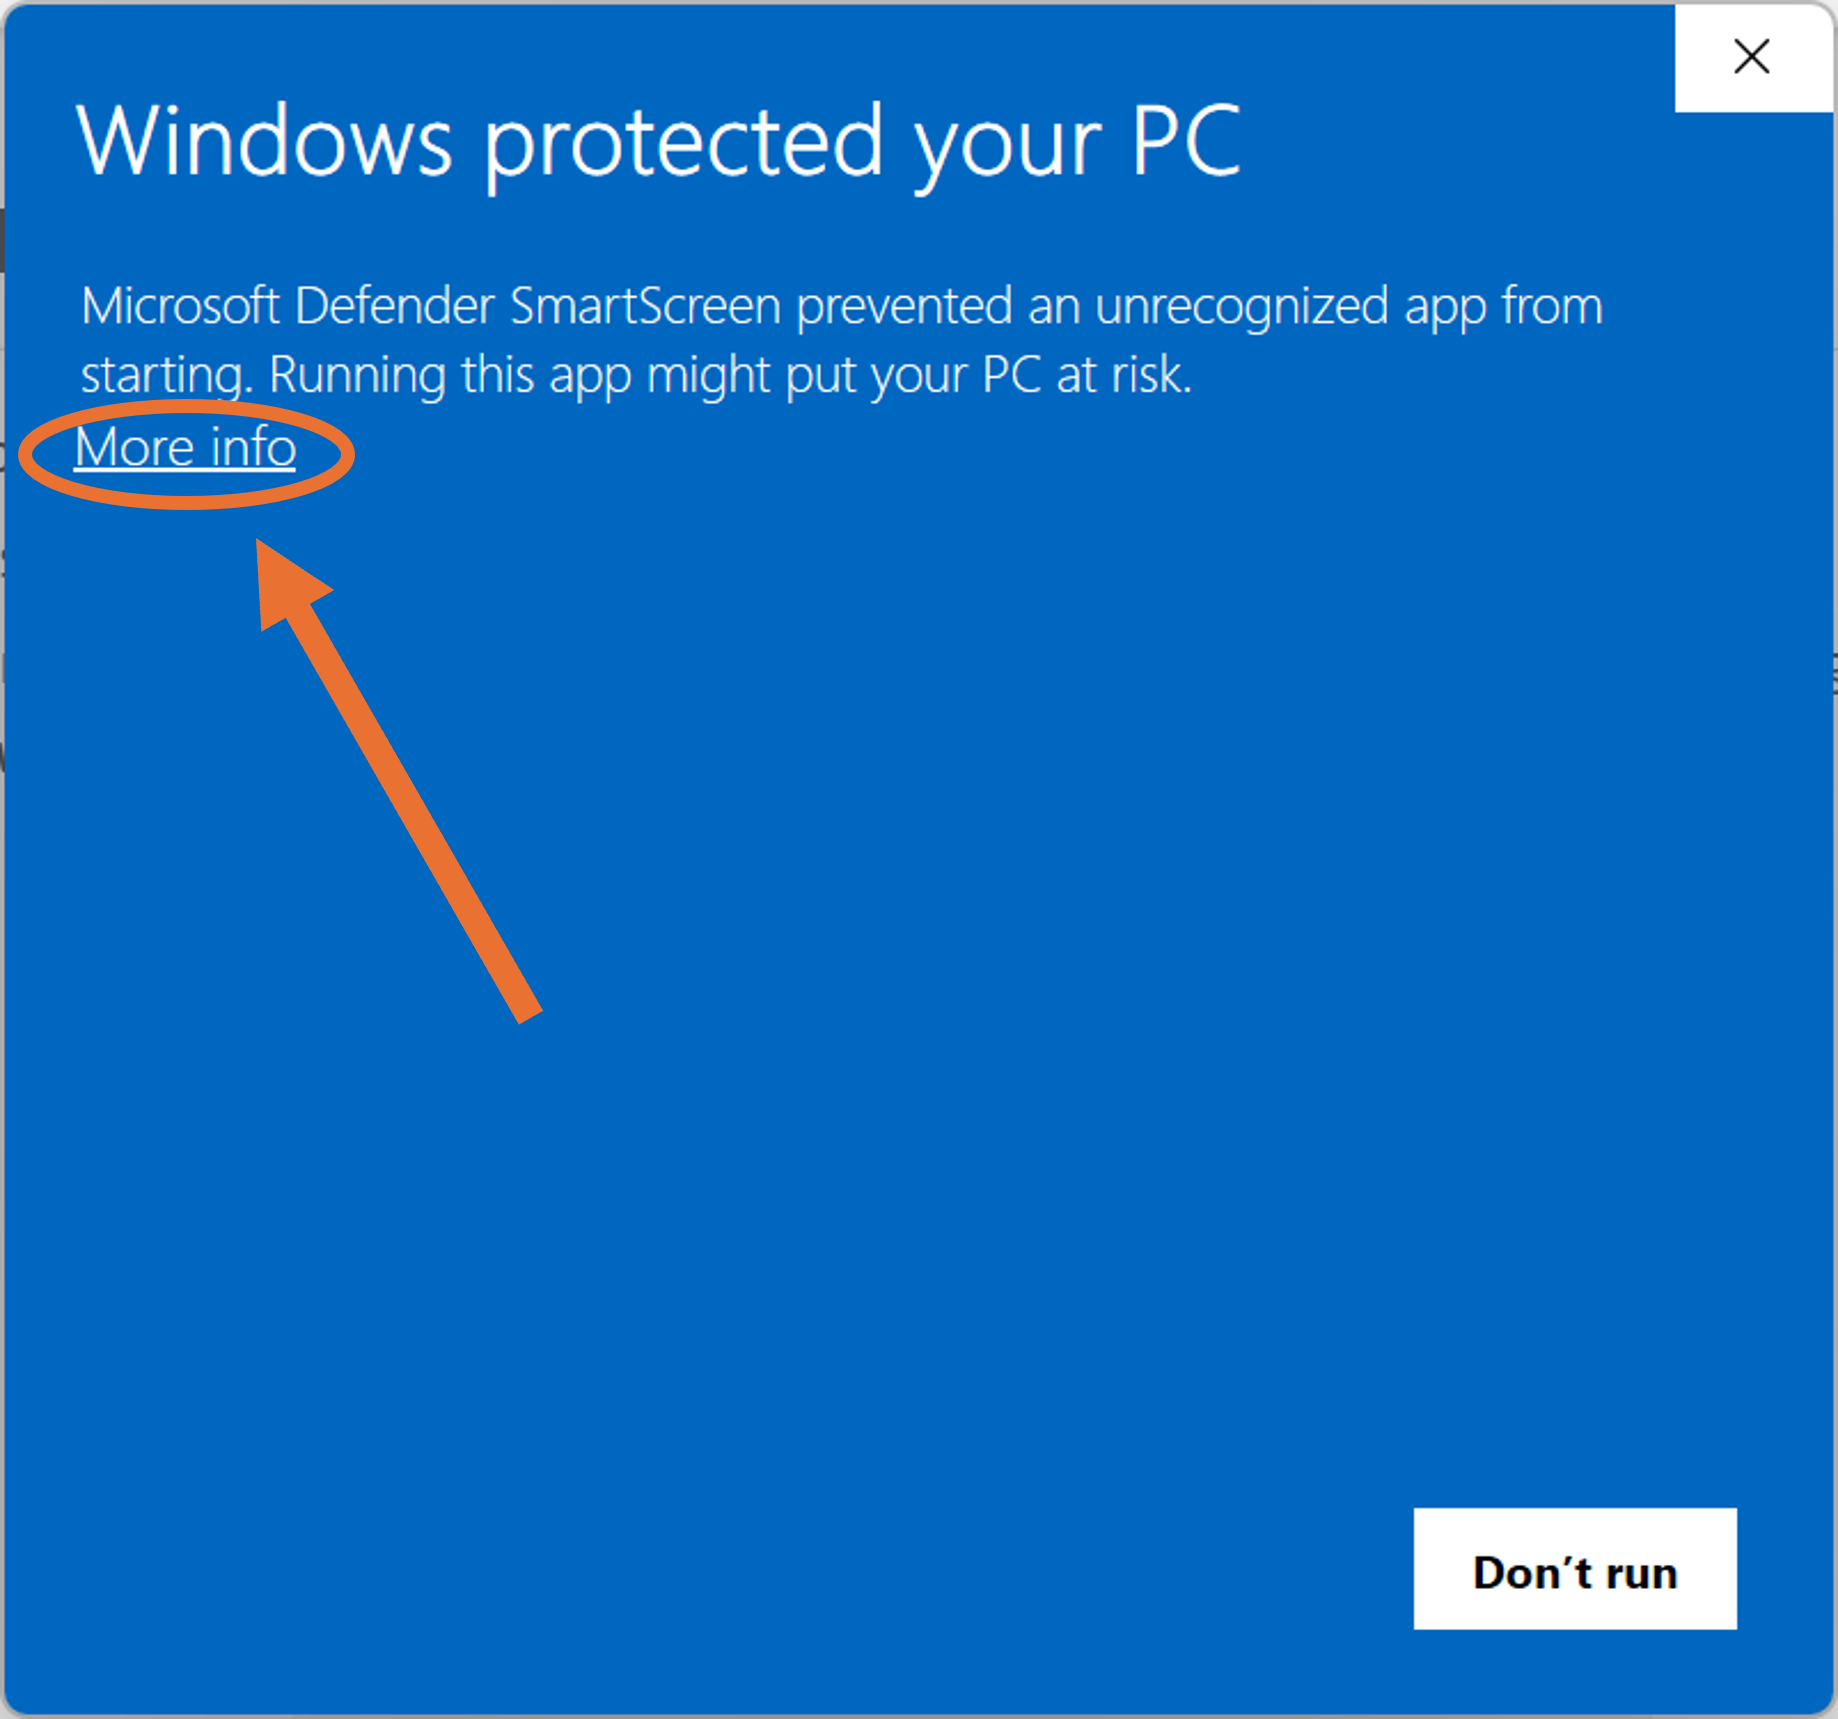
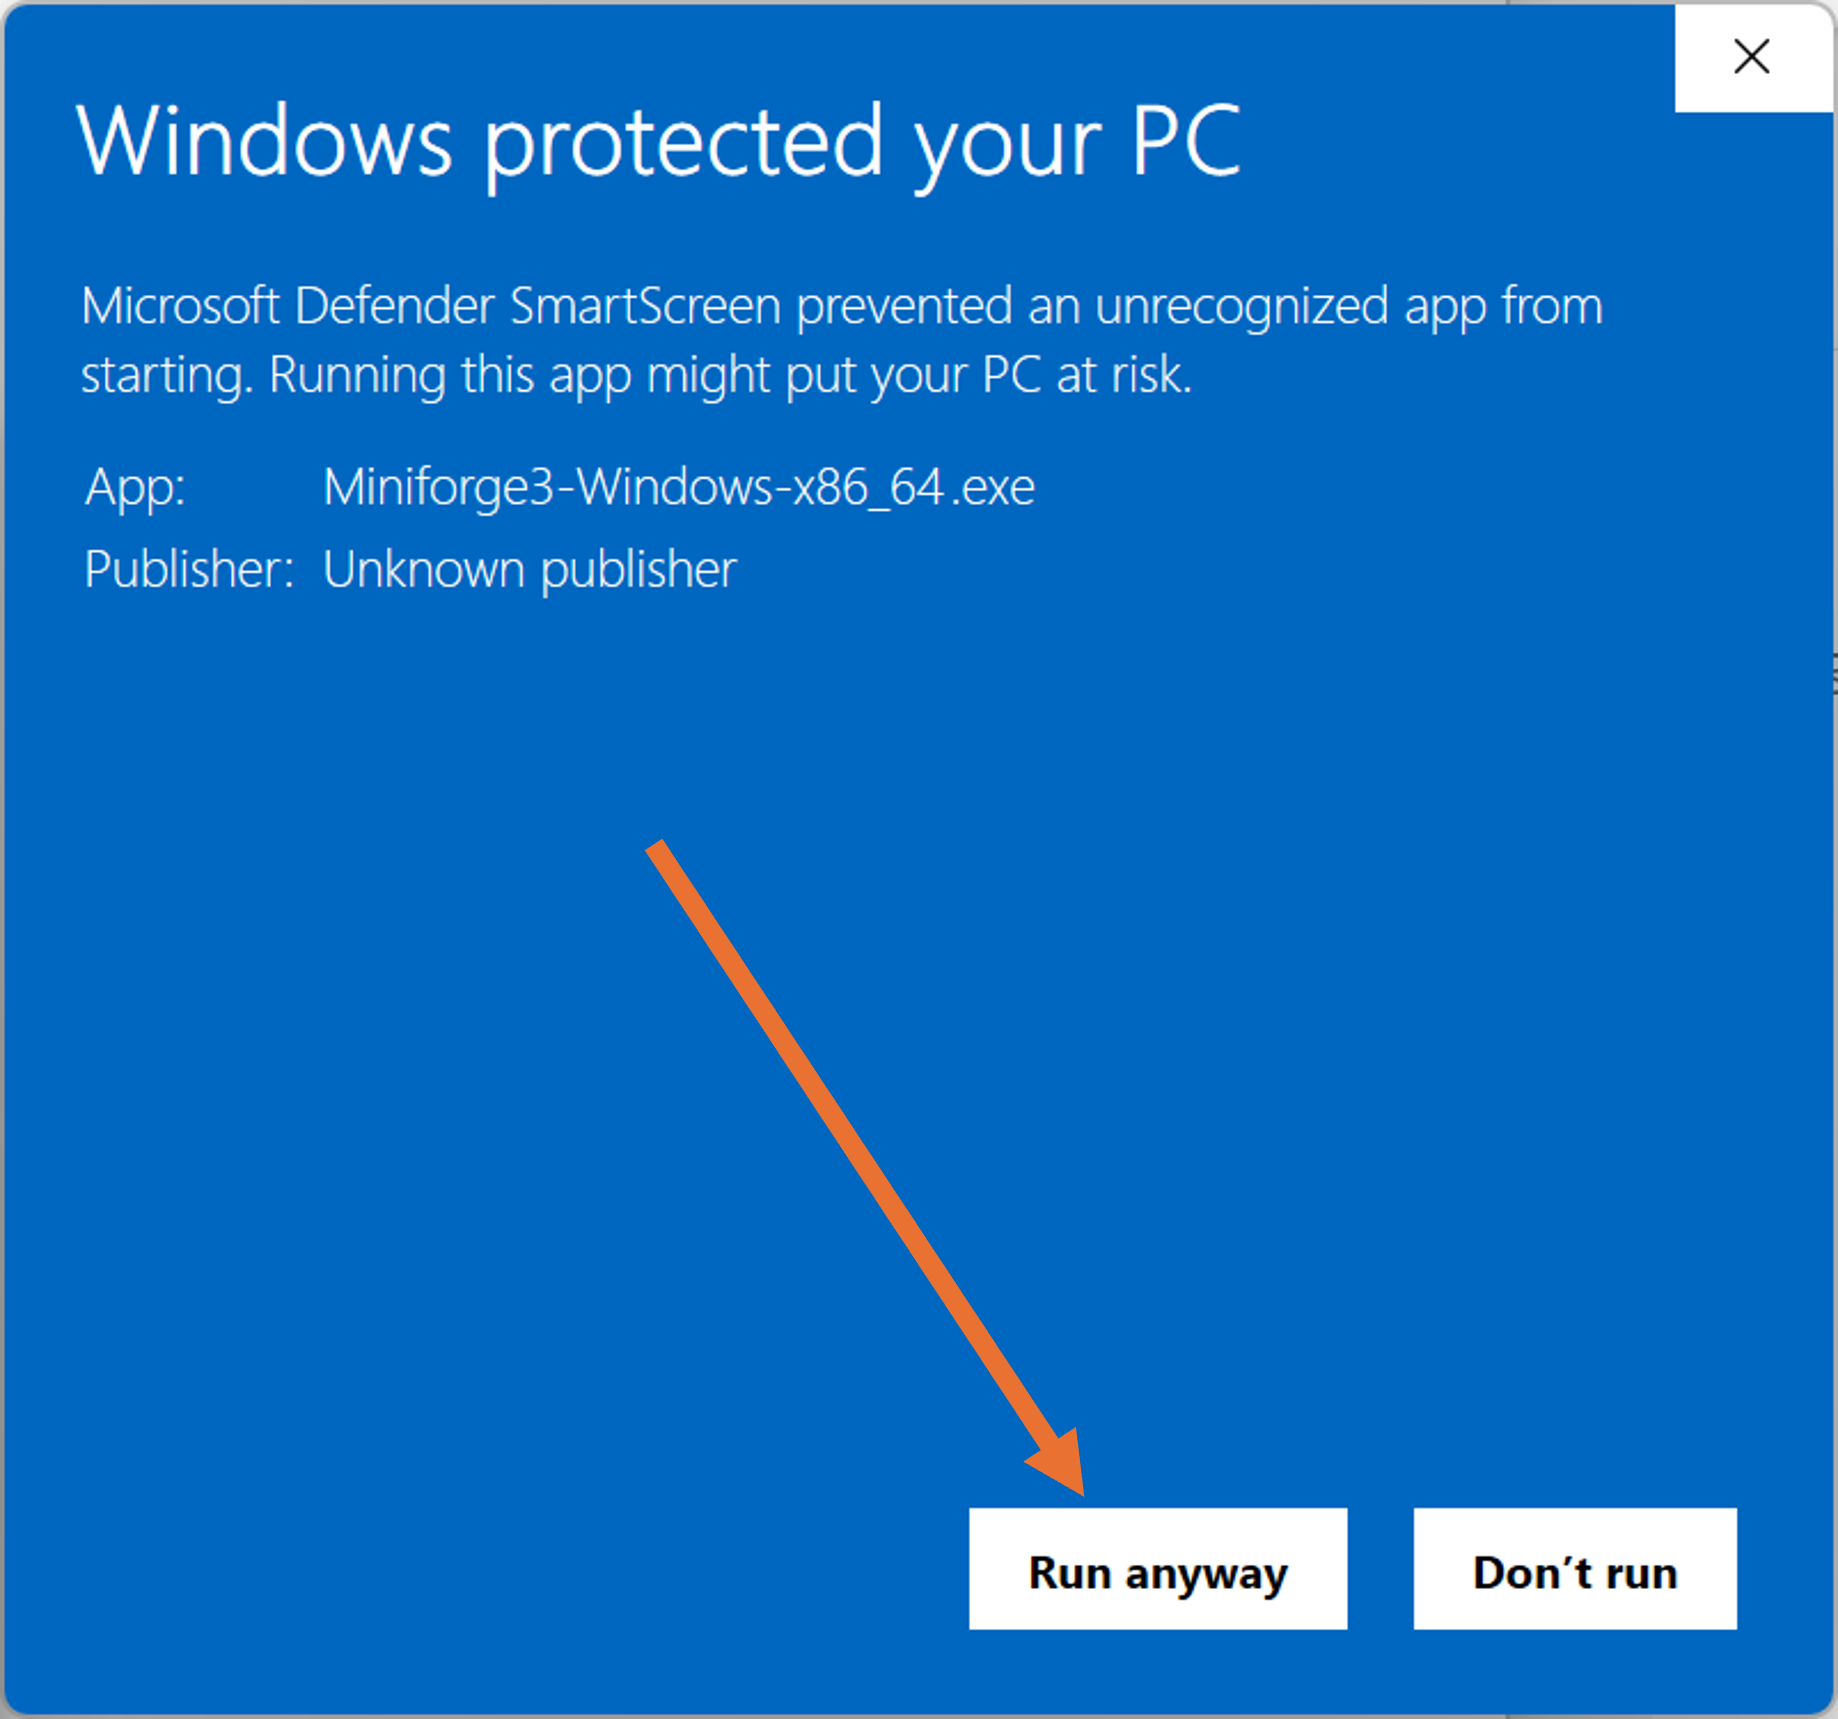
Once the installer is open you might encounter a security warning. Click on the More info button and then Run anyway.
Follow the instructions from the installer.
Step 2: Install Visual Studio Code#
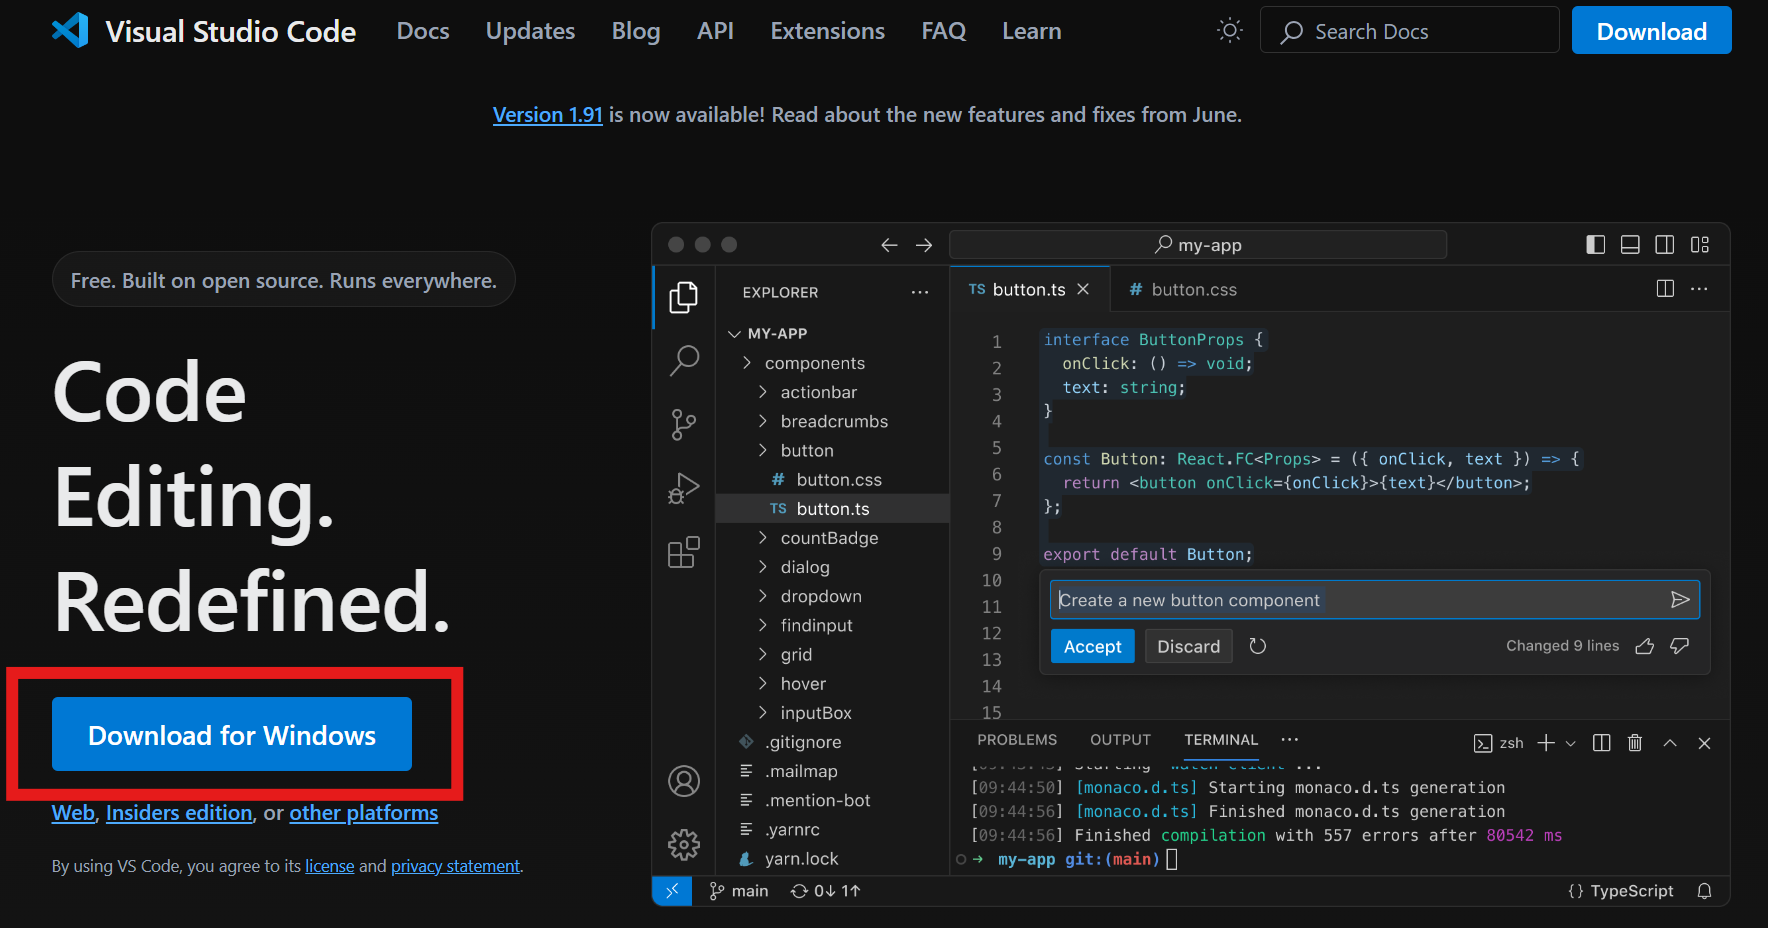
Go to this website.
Click the Windows button
Open the installer and follow the instructions.
Step 3: Install extensions for Visual Studio Code#
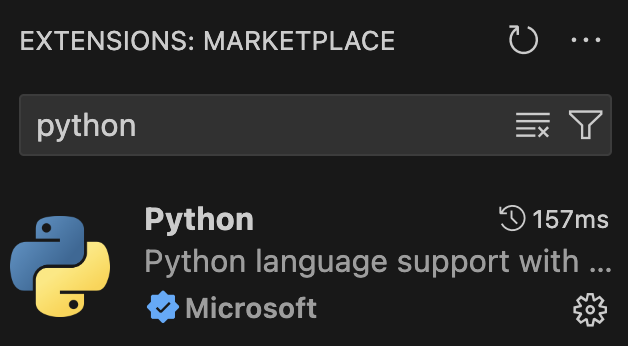
Open Visual Studio Code and select the Extensions
 tab on the left.
Here search for Python, and download the extension. Make sure that it is from Microsoft.
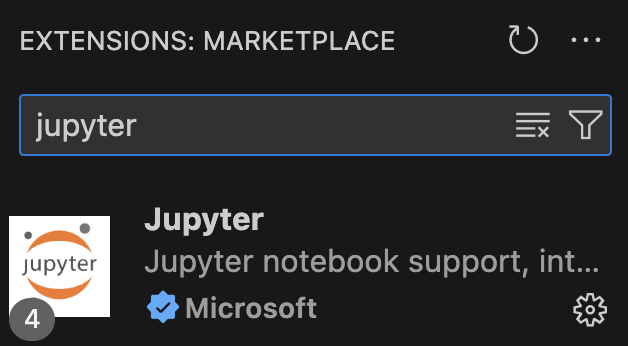
Search for Jupyter, and download that extension as well. This also needs to be from Microsoft.
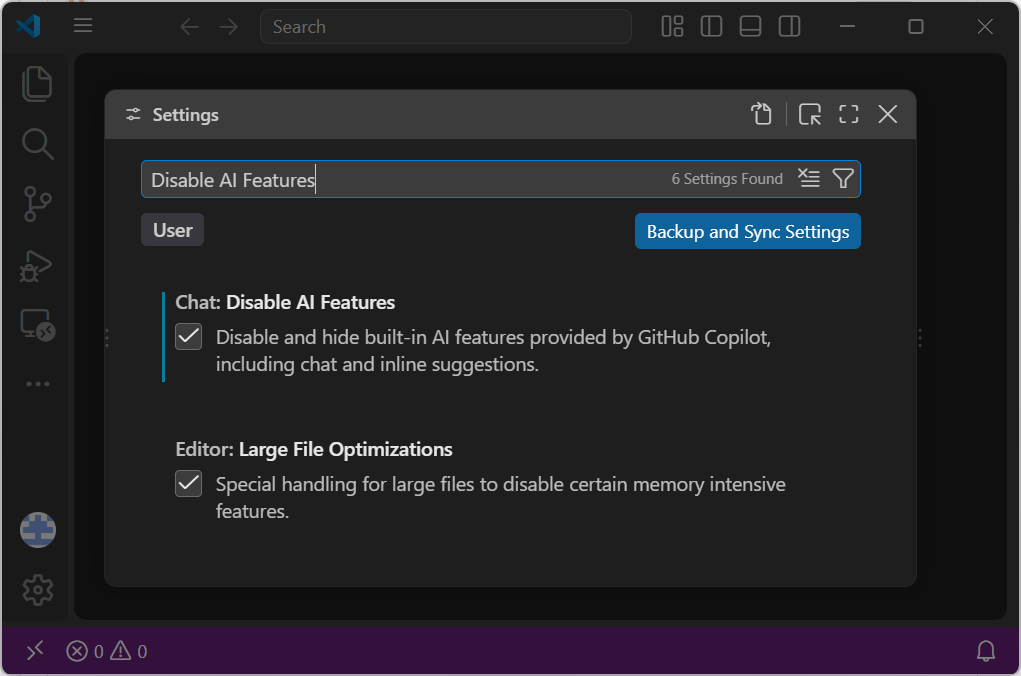
How to turn AI on/off in VS Code#
Open Visual Studio Code.
Press Ctrl+, on Windows, or Command+, on MacOS, to open the settings in Visual Studio Code.
Search for “Disable AI Features” and check or uncheck the box
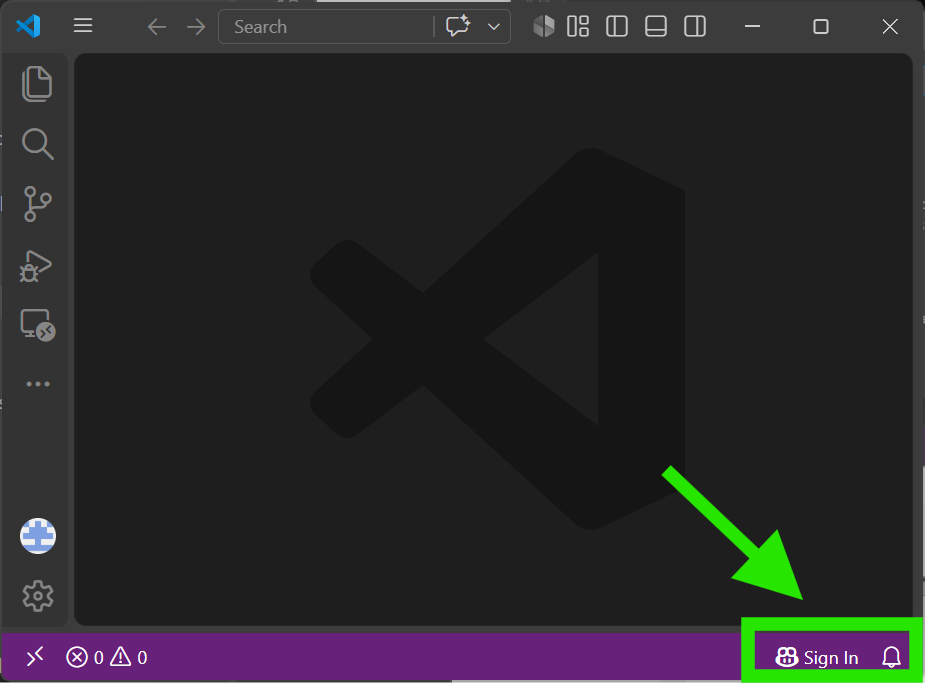
If AI is enabled, you should have a Copilot icon () in the bottom right corner with an option to sign in.
Tip
When you have finished the guide, we strongly recommend checking out learn more to prepare you for coding.
Verification#
Video Guide — description found below
Verify that your installation is successful by following these steps:
Open Miniforge Prompt by opening the menu bar, then search for . Verify that
(base)is shown to the left of the text. Something like the image below:
Type
idlein the Miniforge Prompt window, then press Enter. This should open a new window in which you can run Python code.Verify the IDLE window says
Python 3.14.Xin the top left (or in the range of 3.10 – 3.15).Copy the following Python code into the IDLE window, then press Enter:
import matplotlib, pandas, scipy, sklearn, spb, statsmodels, uncertainties
Verify that a new line (
>>>) appears without any text (indicating everything got imported correctly). See the below image for an example: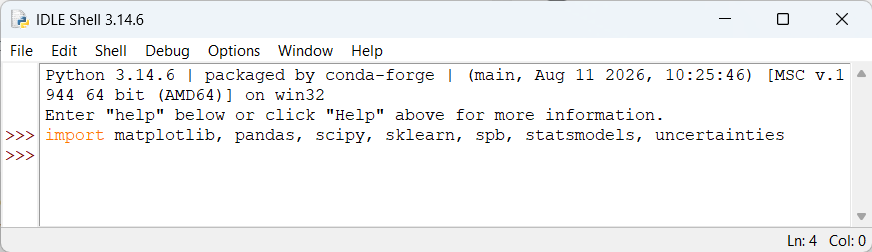
If some steps result in a different than described above, please continue reading the Troubleshooting section.
Troubleshooting#
Only follow these troubleshooting steps if something in the previous section did not check out.
Ensure that Miniforge is installed: Search for the prompt through the menu bar, and open it.
If you cannot find it, press here to install conda.
Ensure the packages are installed (if they are already installed, this will not do anything).
Paste the following line of code to the Miniforge Prompt window and press Enter:
conda install python=3.14 matplotlib jupyter ipykernel pandas scipy scikit-learn statsmodels uncertainties -y
Go back to the previous Verification section and check them again.
If you are still having trouble or have any questions, please do not hesitate to visit us during office hours or contact us via email or Discord. More information can be found on our homepage.