Jupyter Notebooks (.ipynb)#
Video Tutorial
A .ipynb file is a notebook file that contains Python code intermixed with
Markdown text.
It works similar to other cell-based execution models. For example, individual segments of the notebook can be executed in arbitrary order.
In this tutorial you will learn how to do all of these using Visual Studio Code:
Creating a new Jupyter Notebook File#
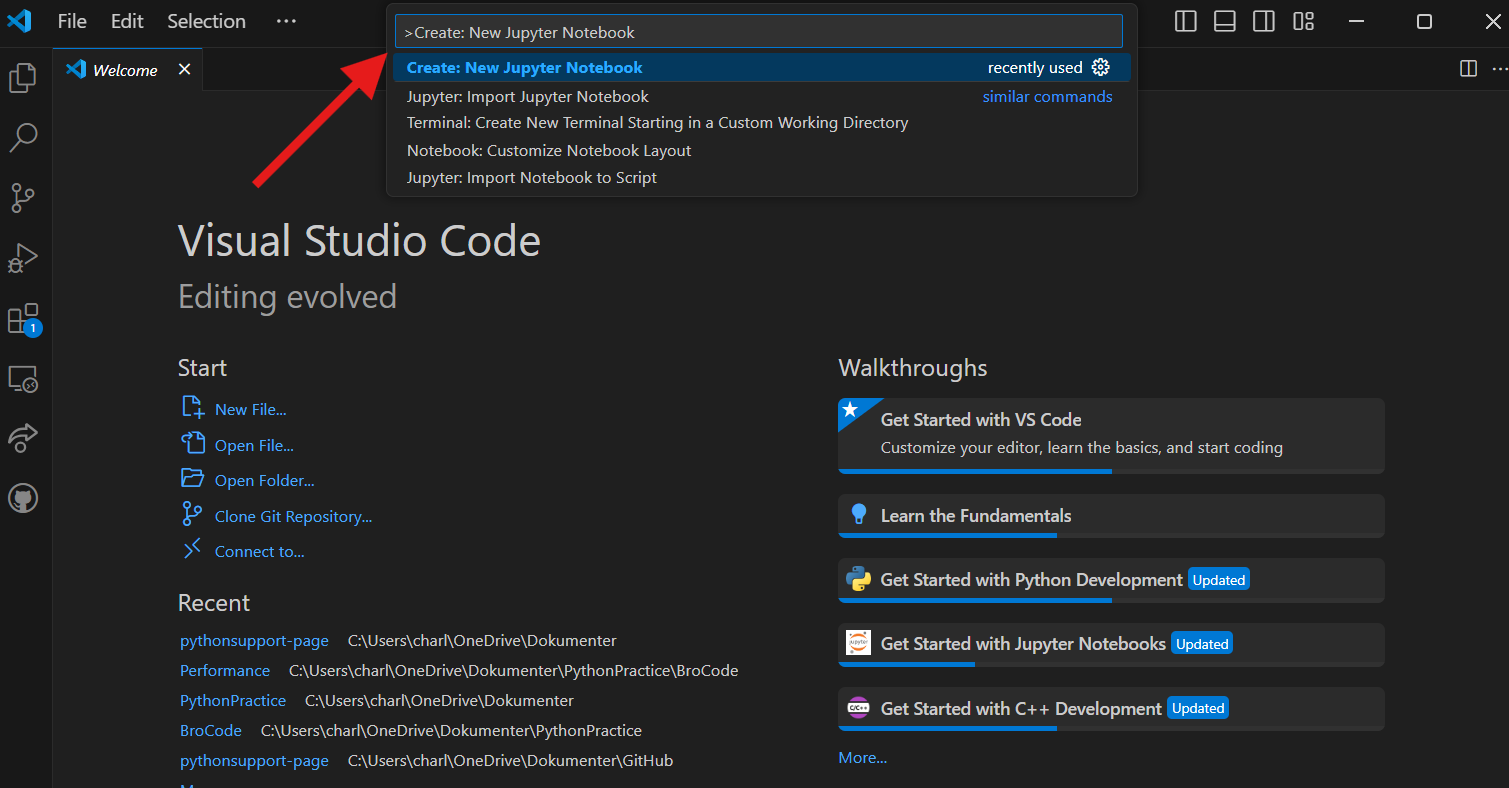
Access the command palette by pressing Command+Shift+P (MacOS) or Ctrl+Shift+P (Windows) or by clicking in the menu bar at the top, and then all the commands are shown
Search for create new Jupyter Notebook and click that option.
You can select a kernel by going to the upper right corner, clicking , and then choosing the version of Python you want to use.

Note
You may have different versions of Python installed on your computer, so it is very important to choose the version with the packages you want to use for this project.
Tip
If you accidentally choose the wrong kernel, don’t worry, you can always go back by clicking the Python version you’re currently using and then changing it.
Importing packages#
Start by clicking on the first cell at the top of the notebook
Copy and paste the following code:
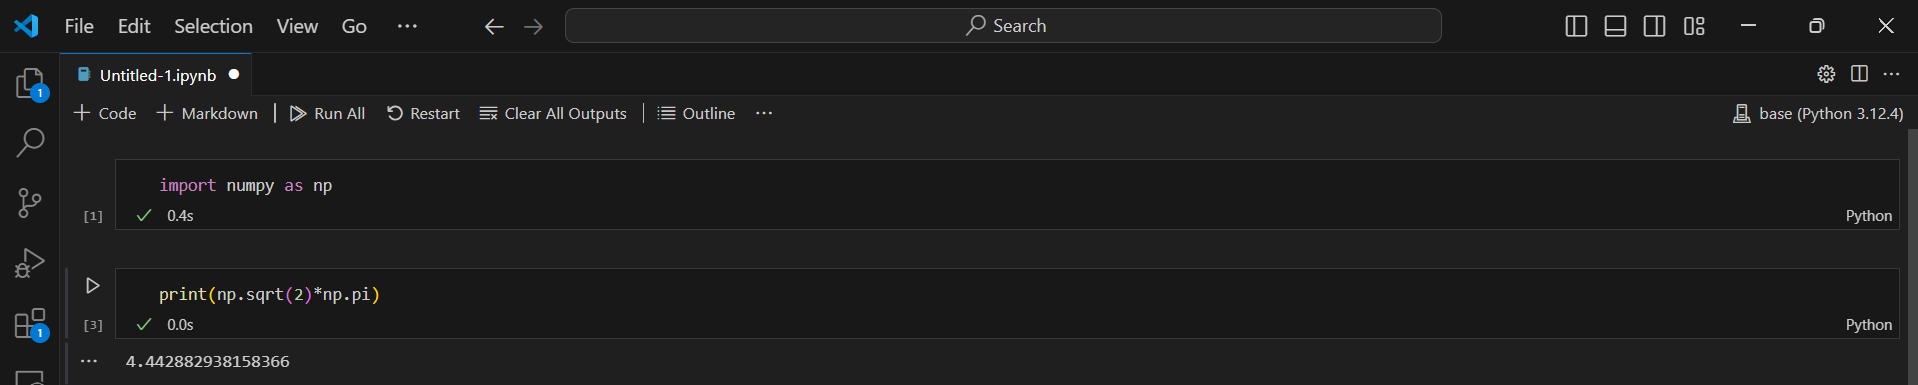
import numpy as np
Press Shift+Enter to execute the code from the cell. A tick shows that the code from the specific cell is executed and the time next to it shows how long it took. Alternatively, you can press the play button next to the cell to execute the code.
In the rest of the document you will have to write
np.to use numpy functions. Your screen should look like the following image:
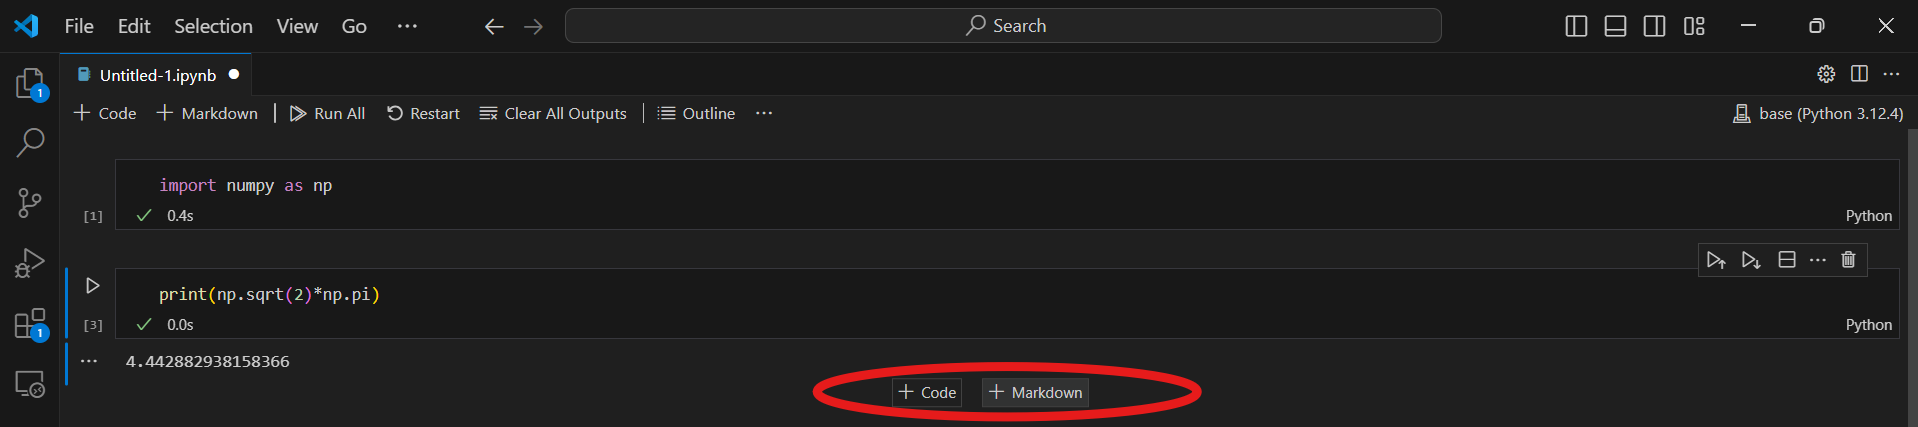
Creating a new code cell and running it#
Create a new code cell by hovering your mouse over an existing block (near the border) and pressing the option.

To delete a code cell, first ensure it is activated, then you can hover your mouse over the right corner of the cell and click on the trash shaped icon.

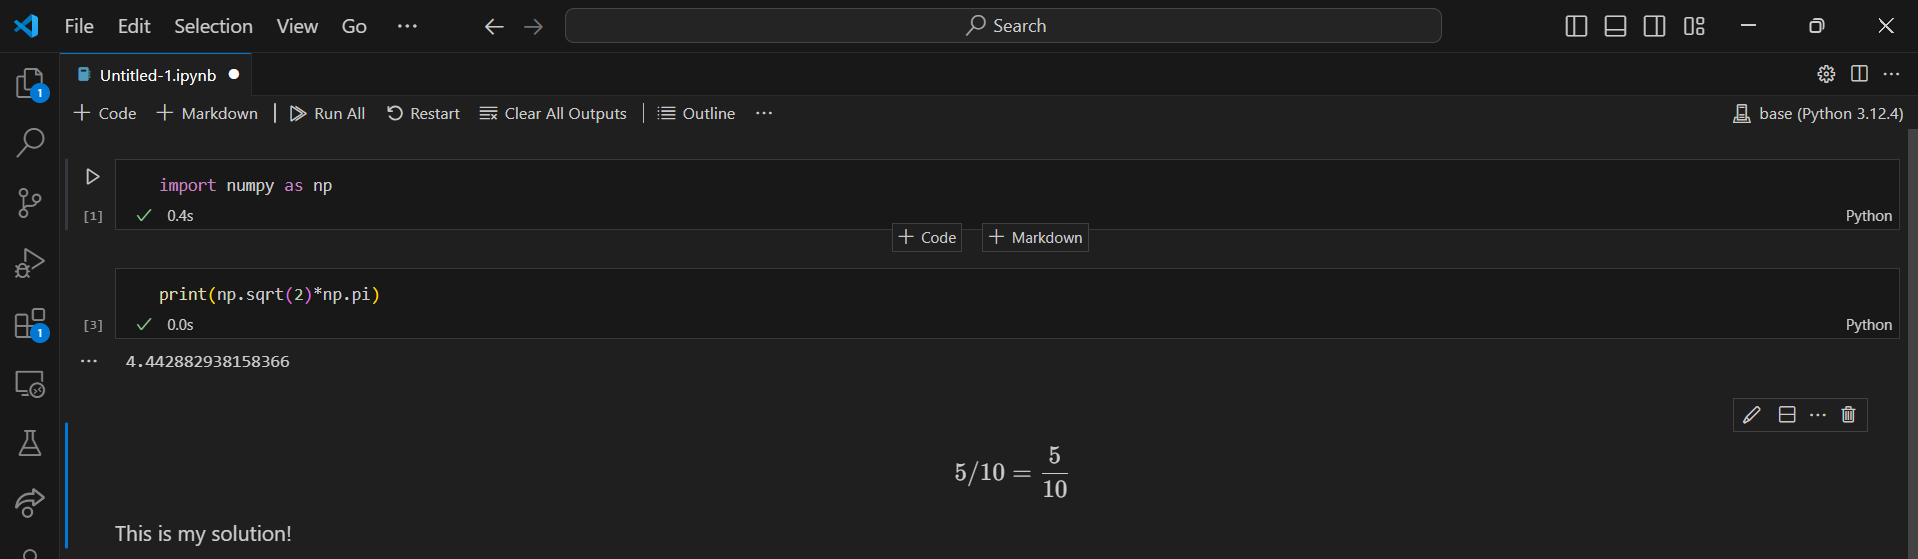
Copy and paste the following code which will multiply the square root of 2 and pi:
print(np.sqrt(2) * np.pi)
Press Shift+Enter in order to execute the code from the cell (or press the play button). Below the code box you should see the following result.
Writing text using Markdown#
Create a new markdown cell by hovering your mouse over an existing block (near the border) and pressing the option.
You can use this option to write some text inside of your Jupyter Notebook using LaTeX. This is especially useful when you need to write complex mathematical equations.
Copy and paste the following code as an example in the Markdown cell:
$$ 5/10 = \frac{5}{10} $$

This is my solution!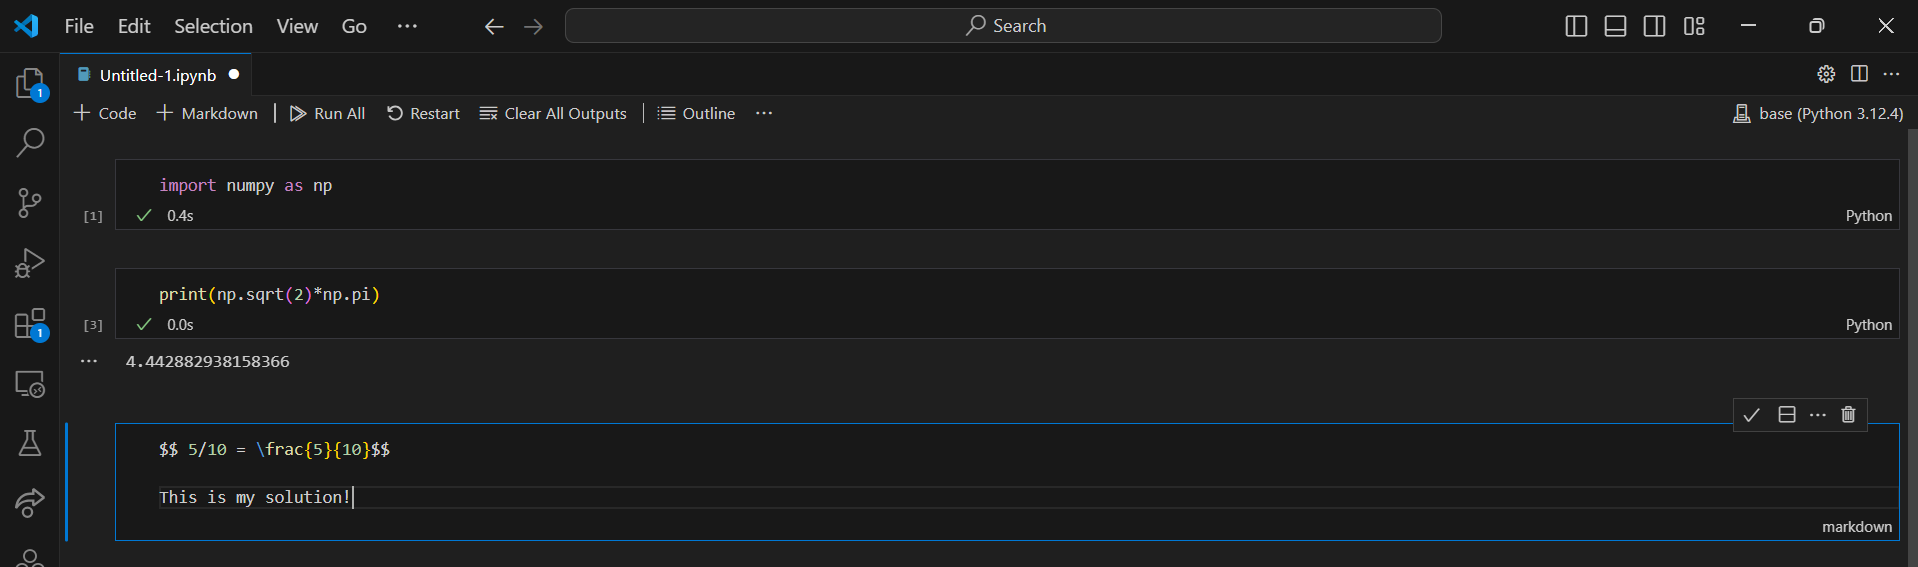
Press Shift+Enter. This should give you the following output:
Tip
To run your code inside a Jupyter Notebook, you can also use the
Execute Cell,Execute Above Cells, orExecute Cell and Belowbuttons.
Saving a File#
Press the button in the top left corner of VS Code.
Select or from the dropdown menu.
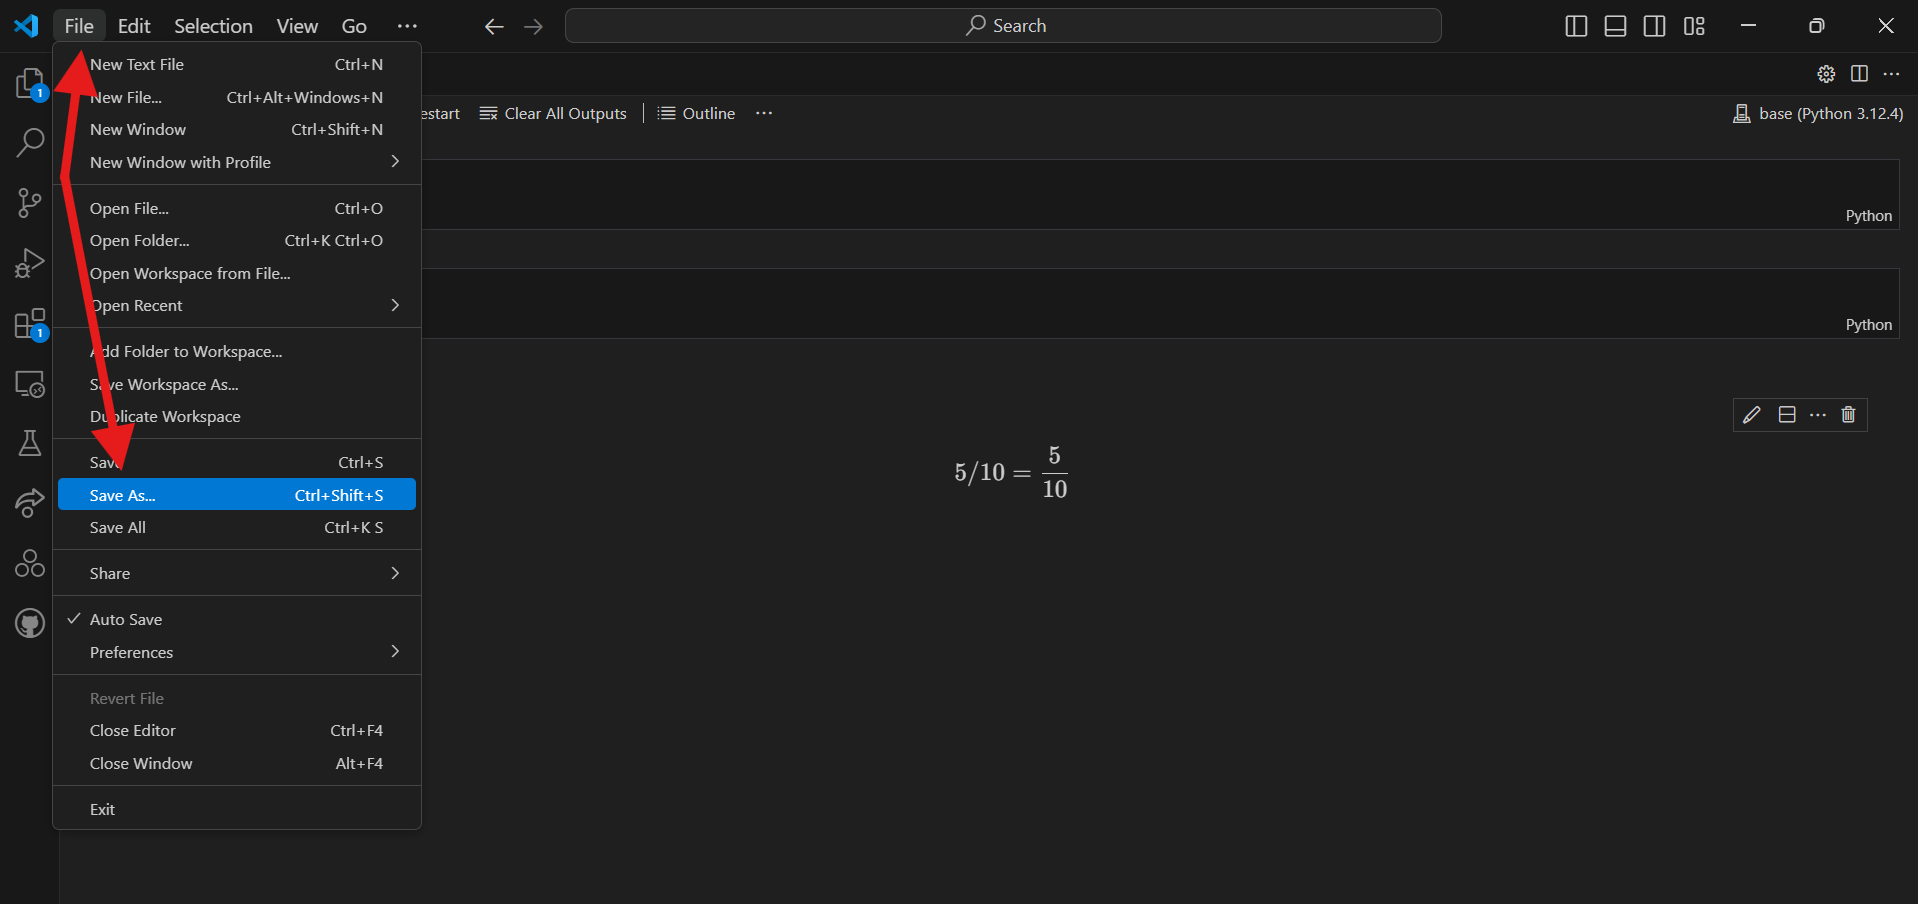
Please choose a location and name for your file, then save it.
Tip
You can save a file by pressing Ctrl+S.
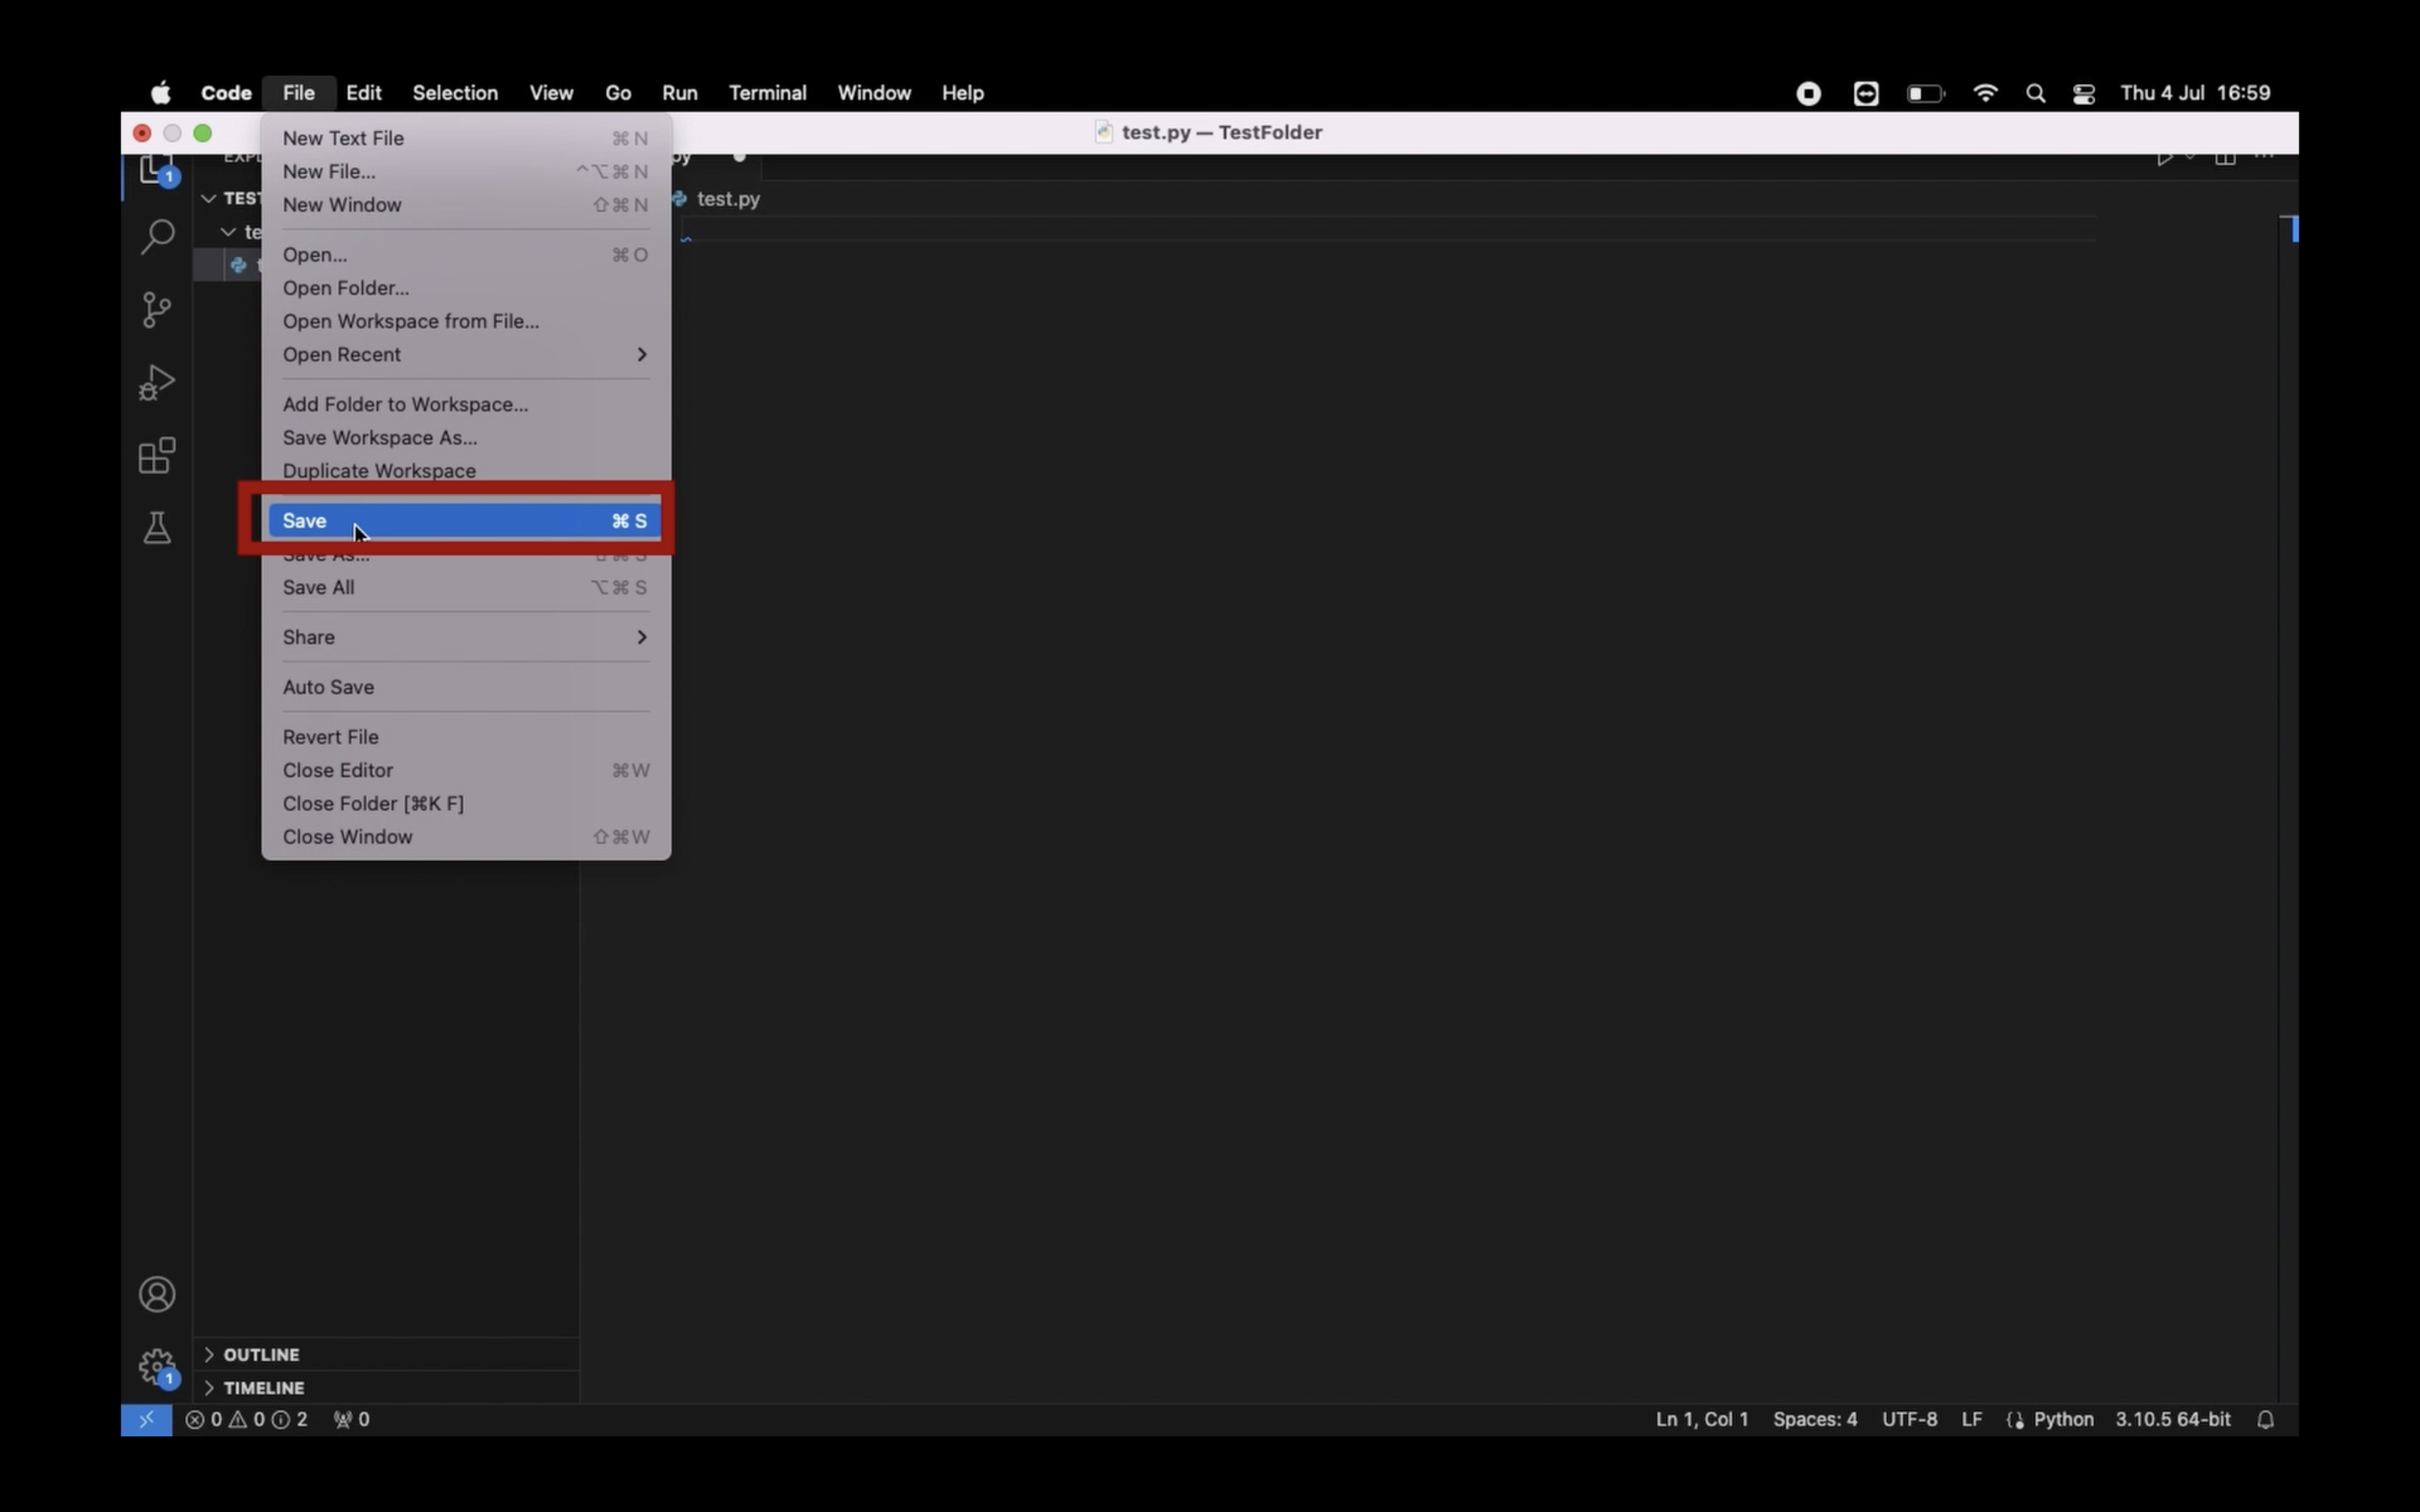
Press the button in the top left corner of your screen.
Select or from the dropdown menu.
Please choose a location and name for your file, then save it.
Tip
You can save a file by pressing Command+S.
Tip
You can enable auto save by pressing the button in the top left corner of VS Code.